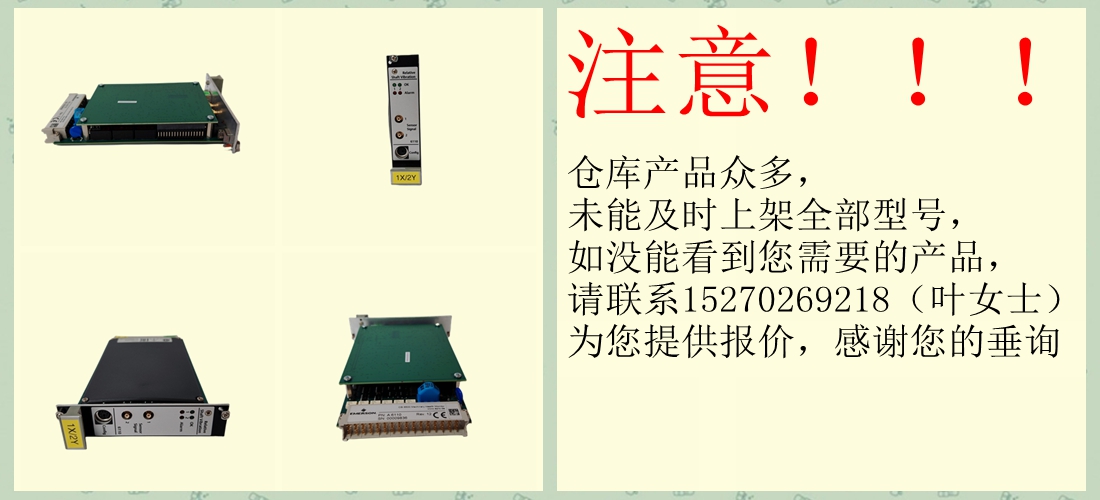


Woodward 5462-750
设定时间
设置适当的分钟数。
百货商店
前进到下一个参数。
或
下一页继续。
(a)
(b)
年月日
年月日
闪烁
闪烁
闪烁
进来
或
进来
或
进来
或
进来
设置秒数–设置秒数
设置适当的秒数。
百货商店
前进到下一个参数。
或
进来
…6编程
…6.2.7设置时钟页面
25
从上一页继续。
校准时间校准时间(小时–24小时)
设置进行一次自动校准的时间。
存储并前进到下一个参数。
HH:MM
校准时间校准时间(分钟)
设置进行一次自动校准时的分钟数。
存储并前进到下一个参数。
闪烁
HH:MM
闪烁
或
进来
或
进来
进入商店。
返回“设置时钟”页面顶部。
校准用户代码------前进至校准用户代码页面。
或
校准间隔–校准间隔天数
或者设置自动校准之间所需的校准间隔
从校准日期开始(6小时、12小时或1至7天,以1天为增量)。
6编程…
6.2.7设置时钟页面
26
校准用户代码校准用户代码
设置正确的用户代码。
需要校准用户代码才能访问设置温度控制和校准页面。访问码
如有需要,可在校准页面中更改–见6.2.11节。
或
前进到下一编程页。
-----
设置温度控制设置温度控制页面。
正确代码
或
二氧化碳<单位>返回操作页面1。
或
错误代码
…6编程
6.2.8校准用户代码页
27
200
2.
前进到下一个参数。
循环时间
设置温度控制
循环时间可在5到60秒之间调整,增量为1秒。
积分时间
页眉。
积分作用时间
积分动作时间在1秒内可在1到1800秒之间调节
增量(1801=关闭)。
前进到下一个参数。
循环时间
比例范围可在1%和500%之间调整,增量为1%。
道具频带比例频带
前进到下一个参数。
本页中的参数为出厂预设,不需要任何调整。
20
返回“设置温度控制”页面顶部。
校准前进至校准页面。
或
6编程…
6.2.9设置温度控制页面
6.2.10电气校准
电气校准在发货前进行,应:
无需后续调整。然而
如果“校准”页面的内容出现问题,或
如无意中更改,请按照以下详细说明重新校准
部分。
笔记
校准程序涉及修改部分校准
原始计划,但前提是更改的值:
未使用“回车”开关存储,原始
存储在非易失性存储器中的程序,
在校准结束时,通过切换可轻松恢复
关闭仪器并再次打开。
如果认为有任何风险,原始计划可能:
如果丢失,建议记下正常参数
设置。如果无意中改变了节目值
“已输入”,仪器可在完成以下操作后重新编程:
校准程序。
所需设备
毫伏电源,范围–400至+400mV。
电极同轴插头/导线组件–随监视器提供
十进制电阻箱*,0至1kΩ,增量为0.01Ω。
数字毫安表,0至20mA–参考图2.4以确定
输出范围。
*电阻盒具有固有的剩余电阻
可以在几毫欧姆到一欧姆的范围内。必须使用此值
在模拟输入水平时,必须考虑
盒内电阻器的总公差。
准备
a) 关闭电源并断开温度传感器
微处理器单元中端子1、2和3的引线。
进行以下连接:
1和3(温度传感器)十进盒2(温度传感器)
b) 将同轴插头插入流量传感器上方的ISE插座
并连接毫伏电源(内部+ve,外部-ve)。
c) 将毫安表连接到适当的电流位置
接线盒中的输出连接–见2.6节。
d) 打开电源并等待两分钟(30分钟)
冷)以使电路稳定。
e) 选择适当的Cal用户代码以访问
编程页面–参见Se
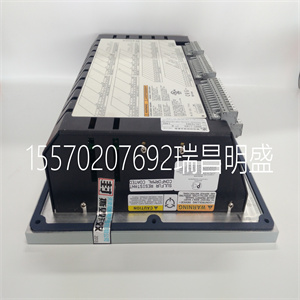
Woodward 5462-750

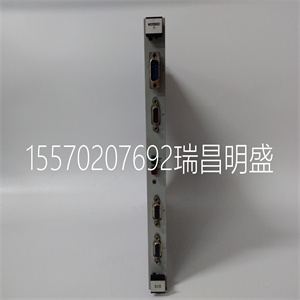
Woodward 5462-750
Set Minutes Set the appropriate minutes. Store. Advance to next parameter. or Continued on next page. (a) (b) DD: MM :YY DD:MM: YY Flashing Flashing Flashing Enter or Enter or Enter or Enter Set Seconds – – Set Seconds Set the appropriate seconds. Store. Advance to next parameter. or Enter …6 PROGRAMMING …6.2.7 Set Up Clock Page 25 Continued from previous page. Cal Time Calibration Time (hour – 24 hour clock) Set the hour of the day when the first automatic calibration is to be carried out. Store and advance to next parameter. HH :MM Cal Time Calibration Time (minutes) Set the minute of the hour when the first automatic calibration is to be carried out. Store and advance to next parameter. Flashing HH: MM Flashing or Enter or Enter Enter Store. Return to top of Set Up Clock Page. CAL USER CODE ----- Advance to Calibration User Code Page. or or Cal Interval – Days Calibration Interval or Set the calibration interval required between automatic calibrations, starting from the calibration date (6 hours, 12 hours or 1 to 7 days in 1 day increments). 6 PROGRAMMING… 6.2.7 Set Up Clock Page 26 CAL USER CODE Calibration User Code Set the correct user code. The calibration user code is required to gain access to the Set Up Temperature Control and Calibration Pages. The access code can be altered in the Calibration Page, if required – see Section 6.2.11. or Advance to next programming page. ----- SET UP TEMP. CONTROL Set Up Temperature Control Page. Correct Code or Carbon Dioxide Return to Operating Page 1. or Incorrect Code …6 PROGRAMMING 6.2.8 Calibration User Code Page 27 200 2 Advance to next parameter. Cycle Time SET UP TEMP. CONTROL The cycle time is adjustable between 5 and 60 seconds in 1 second increments. Integral Time Page header. Integral Action Time The integral action time is adjustable between 1 and 1800 seconds in 1 second increments (1801 = 'OFF'). Advance to next parameter. Cycle Time The proportional band is adjustable between 1 and 500% in 1% increments. Prop. Band Proportional Band Advance to next parameter. The parameters within this page are factory preset and should not require any adjustment. 20 Return to top of Set Up Temperature Control Page. CALIBRATION Advance to Calibration Page. or or 6 PROGRAMMING… 6.2.9 Set Up Temperature Control Page 6.2.10 Electrical Calibration Electrical calibration is carried out prior to despatch and should require no subsequent adjustment. However, if measurements become suspect or if the contents of the 'CALIBRATION' page are inadvertently altered, recalibrate as detailed in the following sections. Note. The calibration procedure involves modifying part of the original programme but, provided that changed values are not stored using the 'Enter' switch, the original programme, which was stored in the nonvolatile memory, can easily be reinstated at the end of calibration by switching off the instrument and switch on again. If there is thought to be any risk that the original programme could be lost, it is advisable to make a note of the normal parameter settings. If the changed programme values are inadvertently 'Entered', the instrument can be reprogrammed on completion of the calibration procedure. Equipment Required Millivolt source, range –400 to +400mV. Electrode coaxial plug/lead assembly – supplied with monitor Decade resistance box*, 0 to 1kΩ in 0.01Ω increments. Digital milliammeter, 0 to 20mA – refer to Fig. 2.4 to identify the output range. * Resistance boxes have an inherent residual resistance which may range from a few milliohms to one ohm. This value must be taken into account when simulating input levels, as must the overall tolerances of the resistors within the box. Preparation a) Switch off the supply and disconnect the temperature sensor leads from terminals 1, 2 and 3 in the Microprocessor Unit. Make the following connections: 1 & 3 (temperature sensor) decade box 2 (temperature sensor) b) Insert the coaxial plug into the ISE socket above the flowcell and connect the millivolt source (inner +ve, outer –ve). c) Connect the milliammeter in place of the appropriate current output connections in the junction box – see Section 2.6. d) Switch on the supply and allow two minutes (30 minutes from cold) for the circuits to stabilise. e) Select the appropriate Cal User Code to gain access to the programming pages – see Se
Copyright ©2019-2022 瑞昌明盛自动化设备有限公司 版权所有 赣ICP备2021006016号