
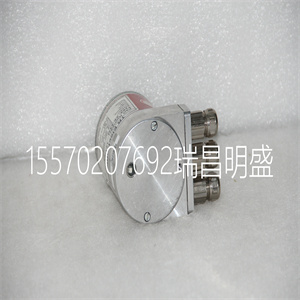
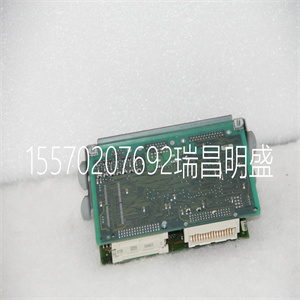
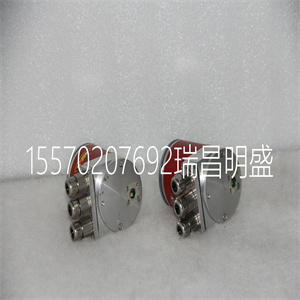
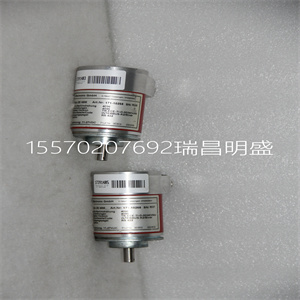


TZIDC V18345-1021151001 V18345 数字定位器
在冗余配置中,两个PM891单元安装在两个独立的
DIN导轨。如果有足够的空间,可将装置安装在
铁路上的嘈杂声。
使用以下步骤沿DIN导轨安装处理器单元:
1.安装处理器单元。
2.将通信接口安装在CEX总线左侧
处理器单元。如果使用BC810,则段的配置应为
考虑过的。如果未使用BC810,则接口可在
以任何优选方式提供两个CPU。
3.轻轻地将单元压在一起,确保CEX总线正确
通过单元上的连接器连接。
4.如果使用BC810,将TK851电缆连接到两个BC810。如果没有BC810s
使用时,将CEX总线延长电缆TK850安装到远的单元
远离处理器单元,或者如果没有安装单元,则直接连接到处理器单元上的CEXBus。CEX总线延长电缆必须连接到:
两个CPU,无论是否有任何其他CEX总线单元(图29
93页)。
5.连接RCU数据链路电缆(TK855)和RCU控制链路电缆
(TK856)连接到两个CPU。
RCU数据链路电缆(TK855)和RCU控制链路电缆(DK856)
不得用类似电缆代替。使用其他电缆将禁用
控制构建器和操作员站中CPU的标识。
CPU连接到RCU控制链路电缆(TK856)连接器,标记为
“上限”将在控件生成器和运算符中定义为“上限”
火车站标记与CPU的物理位置无关。
任何CPU都可以成为主CPU。
2节安装:在冗余配置中安装PM891处理器单元
3BSE036351-510 A 95
6.提供电源和网络连接:
a、 将电源线连接到两个CPU的螺钉端子L+和L-,以及
来自SS8xx的电源监控信号发送到螺钉端子SA和SB。
b、 将控制网络电缆连接至CN1(单总线连接),或
CN1+CN2(冗余总线连接)。控制网络是
连接到两个CPU。
c、 使用主电源的电缆TK212将控制生成器连接到COM4
CPU(如果需要更改IP地址等)。否则,连接
控制网络的控制生成器。
7.将光学模块总线连接到处理器单元上的光学触点
(参见32页图2和131页图40)。关于
S800 I/O中提供了光缆选择和电缆长度
文档
8.通过将CPU连接到外部SB822电池提供电池备用
单位。按照安装SB822中的说明进行安装
144页的可充电外部电池单元
TZIDC V18345-1021151001 V18345 数字定位器
TZIDC V18345-1021151001 V18345 数字定位器
In redundant configuration, two PM891 units are mounted on two separate
DIN-rails. If sufficient space is available, the units can be mounted on the same
DIN-rail.
Use the following procedure to install the processor units along the DIN-rail:
1. Mount the processor units.
2. Mount the communication interfaces on the CEX-Bus to the left of the
processor unit. If BC810s are used, the configuration of the segments should be
considered. If no BC810s are used, the interfaces can be divided between the
two CPUs in any preferred way.
3. Press the units gently together and ensure that the CEX-Bus is correctly
connected, through the connector on the unit.
4. If BC810s are used, connect the TK851 cable to the two BC810s. If no BC810s
are used, mount the CEX-Bus extension cable TK850 to the units at farthest
away from the processor units or, if no units are mounted, directly to the CEXBus on the processor unit. The CEX-Bus extension cable must be connected to
both CPUs whether or not there are any other CEX-Bus units (Figure 29 on
page 93).
5. Connect the RCU Data Link Cable (TK855) and the RCU Control Link Cable
(TK856) to both CPUs.
The RCU Data Link Cable (TK855) and the RCU Control Link Cable (TK856)
must not be replaced by similar cables. Using another cable will disable the
identification of the CPUs in the Control Builder and Operator Station.
The CPU connected to the RCU Control Link Cable (TK856) connector marked
“UPPER” will be defined as “UPPER” in the Control Builder and Operator
Station. The marking has no relevance to the physical placement of the CPUs.
Any CPU can become the Primary CPU.
Section 2 Installation Installing the PM891 Processor Unit in Redundant Configuration
3BSE036351-510 A 95
6. Provide connections for power supply and network:
a. Connect the power leads to screw terminals L+ and L- of both CPUs, and
the power supervision signals from SS8xx to screw terminals SA and SB.
b. Connect the Control Network cables to CN1 (single bus connection) or
CN1 + CN2 (redundant bus connection). The Control Network is
connected to both CPUs.
c. Connect the Control Builder to COM4 with cable TK212 of the Primary
CPU (if required for changing an IP address etc.). Otherwise connect the
Control Builder to the Control Network.
7. Connect the optical ModuleBus to the optical contacts on the processor units
(see Figure 2 on page 32 and Figure 40 on page 131). Information regarding
optical cable selection and cable length is provided in the S800 I/O
documentation.
8. Provide battery backup by connecting the CPUs to the external SB822 battery
units. Install them according to the instructions in Installing the SB822
Rechargeable External Battery Unit on page 144
Copyright ©2019-2022 瑞昌明盛自动化设备有限公司 版权所有 赣ICP备2021006016号


