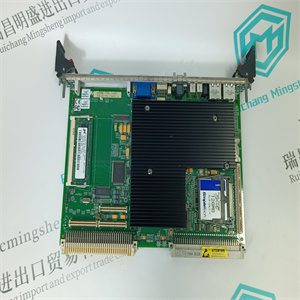
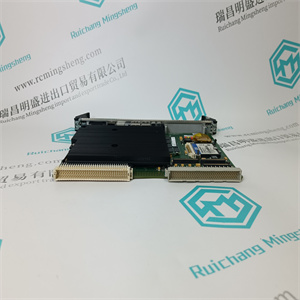
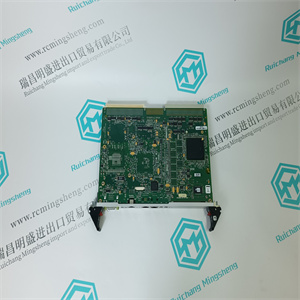
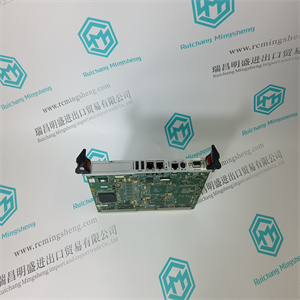
PM153 3BSE003644R1 工业自动化DCS控制板 ABB 减少测量辊和轴承装置的振动能量。 •接近称重传感器的表面以及影响配合的其他表面必须进行机加工 fl@t至0.05mm以内。 •称重传感器上方或下方不得有任何垫片 不利影响fl@tness 相反,垫片可以放置在适配器板和 基础或适配器板和轴承箱之间。 •固定称重传感器的螺钉必须用扭矩扳手拧紧。 •测量辊的轴承布置必须设计为允许轴向膨胀 随温度变化的辊。 •对辊施加任何驱动时,必须确保来自驱动的干扰力: 保持在小值。 •测量辊必须动态平衡。 •称重传感器的安装表面必须位于同一高度并与 测量辊。 •在腐蚀性环境中,称重传感器之间可能发生电偶腐蚀, 镀锌螺钉和转接板。这就需要使用不锈钢螺钉 以及不锈钢或同等材料的转接板。参见图纸中的适配器板。 3.2开箱 设备到达时,对照交付文件进行检查。通知ABB任何投诉, 从而可以立即纠正错误并避免延迟。 压力导管枕式称重传感器,水平测量PFTL 101,用户手册 3.安装 18 3BSE009965R0401 en版本F 3.3准备工作 通过检查必要的文件和材料,及时准备安装 可用,如下所示: •安装图纸和本手册。 •标准工具、扭矩扳手和仪器。 •防锈,如果对机加工表面进行额外保护。例如,选择TECTYL 511(Valvoline)或FERRYL(104)。 •称重传感器、转接板、轴承箱等。 •第20页表2所列用于固定称重传感器的螺钉,以及其他螺钉 用于轴承箱等。 3.4转接板 PFTL 101系列中所有称重传感器类型的转接板必须经过机加工,并具有 fl@tness大偏差为0.05 mm,要求的表面光洁度应为Ra 3.2。 对于PFTL 101A,转接板的厚度应至少为30 mm,对于PFTL101B 35 mm,参见图15。适配器板的安装和称重传感器的对齐第21页 信息 当安装PFTL 101AER和PFTL 101 BER时,必须使用奥氏体钢的适配器板, 优选耐酸或不锈钢。 3.5安装 以下说明适用于典型的安装布置。允许变更,前提是 符合3.1一般要求。 如果需要使用管状定位销来固定称重传感器的位置, 参见图14中的说明。典型安装第21页。 1.清洁基础和其他安装表面。 2.将下部转接板安装到称重传感器上。将螺钉拧紧至表2中规定的扭矩。 第20页。 3.将称重传感器和下部转接板安装到基础上,但不要完全拧紧 螺钉。 4.将上转接板安装到称重传感器上。将螺钉拧紧至表2中规定的扭矩。 第20页。 5.适合 PM153 3BSE003644R1 工业自动化DCS控制板 ABB PM153 3BSE003644R1 工业自动化DCS控制板 ABB reduces the vibration energy of the measuring roll and bearing arrangement. • The surfaces closest to the load cell, and other surfaces that affect the fit must be machined fl@t to within 0.05 mm. • There must not be any shims immediately above or below the load cell, as this may adversely affect the fl@tness Instead, shims may be placed between the adapter plate and the foundation or between the adapter plate and the bearing housing. • The screws that secure the load cell must be tightened with a torque wrench. • The bearing arrangement for the measuring roll must be designed to allow axial expansion of the roll with changes in temperature. • Any drive to the roll must be applied in such a way that interfering forces from the drive are kept to a minimum. • The measuring roll must be dynamically balanced. • The mounting surfaces of the load cells must be on the same height and parallel with the measuring roll. • In a corrosive environment, galvanic corrosion may occur between the load cell, galvanized screws and adapter plates. This makes it necessary to use stainless steel screws and adapter plates of stainless steel or equivalent. See adapter plates in A Drawings. 3.2 Unpacking When the equipment arrives, check against the delivery document. Inform ABB of any complaint, so that errors can be corrected immediately and delays avoided. Pressductor PillowBlock Load Cells, Horizontal Measuring PFTL 101, User Manual 3 Installation 18 3BSE009965R0401 en Rev F 3.3 Preparations Prepare the installation in good time by checking that the necessary documents and material are available, as follows: • Installation drawings and this manual. • Standard tools, torque wrench and instruments. • Rust protection, if additional protection is to be given to machined surfaces. Choose TECTYL 511 (Valvoline) or FERRYL (104), for example. • Load cells, adapter plates, bearing housings, etc. • Screws as listed in Table 2. page 20 to secure the load cell, and other screws for bearing housing, etc. 3.4 Adapter Plates The adapter plates for all load cell types in the PFTL 101 family must be machined and have a fl@tness deviation of maximum 0.05 mm, required surface finish should be Ra 3,2. For PFTL 101A the thickness of the adapter plates should be minimum 30 mm, and for PFTL 101B 35 mm, see Figure 15. Installation of Adapter Plates and Alignment of Load Cells page 21 Information When installing PFTL 101AER and PFTL 101BER adapter plates of austenitic steel must be used, preferably acid resistant or stainless steel. 3.5 Mounting The instructions below apply to a typical mounting arrangement. Variations are allowed, provided that the requirements of 3.1 General are complied with. If it is necessary to use tubular dowel pins to secure the position of the load cell, see instructions in Figure 14. Typical Installation page 21. 1. Clean the foundation and other mounting surfaces. 2. Fit the lower adapter plate to the load cell. Tighten the screws to the torque stated in Table 2. page 20. 3. Fit the load cell and the lower adapter plate to the foundation, but do not fully tighten the screws. 4. Fit the upper adapter plate to the load cell. Tighten the screws to the torque stated in Table 2. page 20. 5. Fit the PM153 3BSE003644R1 工业自动化DCS控制板 ABB